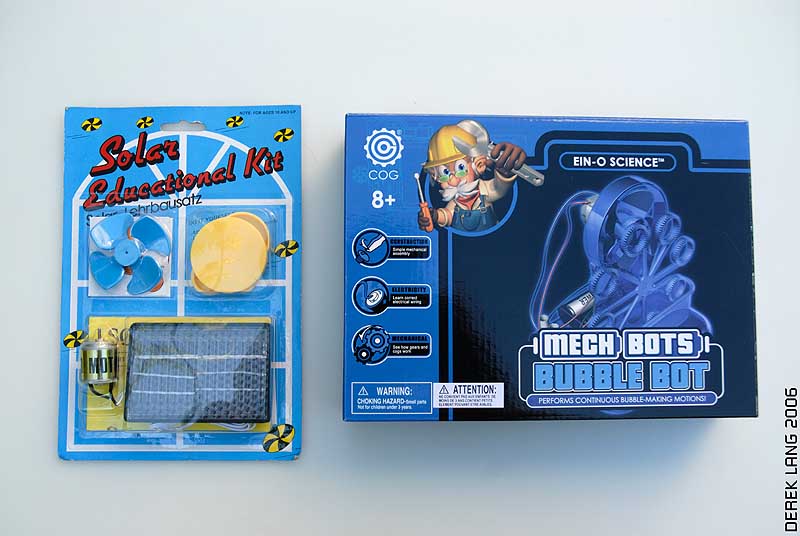
A Solar Panel kit and a Bubble Bot kit
Due to the extreme heat wave outside I spent most of my time indoors today. Shade in the backyard started to creep in around 6pm. It was at that time I decided to sit outside and work on the assembly of a bubble bot kit I had bought a few days ago.
Actually there were two kits that I picked up. The bubble bot and the solar panel kit. I figured I could rejig the two kits so the solar panel could power the bubble bot. At least I was hoping that would work. There were no power specifications of the motor of the bubble bot anywhere on the box. Only that it took two AA batteries in series.
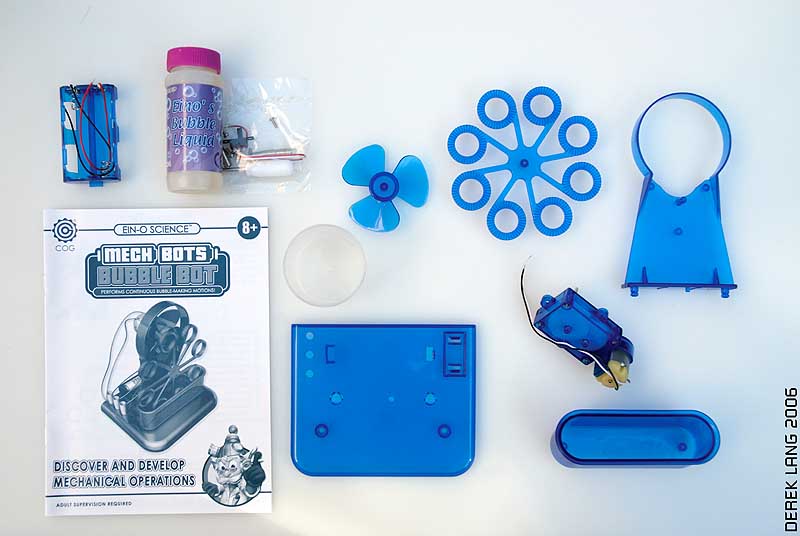
The Bubble Bot parts

The Solar Panel Parts
It took about 10 minutes to put together the bubble bot. For all you parent-types, especially all you single moms that might not have time to do research on these types of toys, this blog report is for you.
The kits are quite simple to put together. The instructions are very visual and tell you exactly what order to assemble things in. The wires are color coded. I 've put together IKEA furniture that was way harder to assemble. In all fairness the Bubble Bot is designed for kids so it should be easy even though the box reads "...with Adult Supervision" (whatever that means :-> ).
In the box you get everything except batteries. They even include a tiny phillips screwdriver. The bonus being that you can use it later to tighten your glasses should you own a pair with screwed on arms.
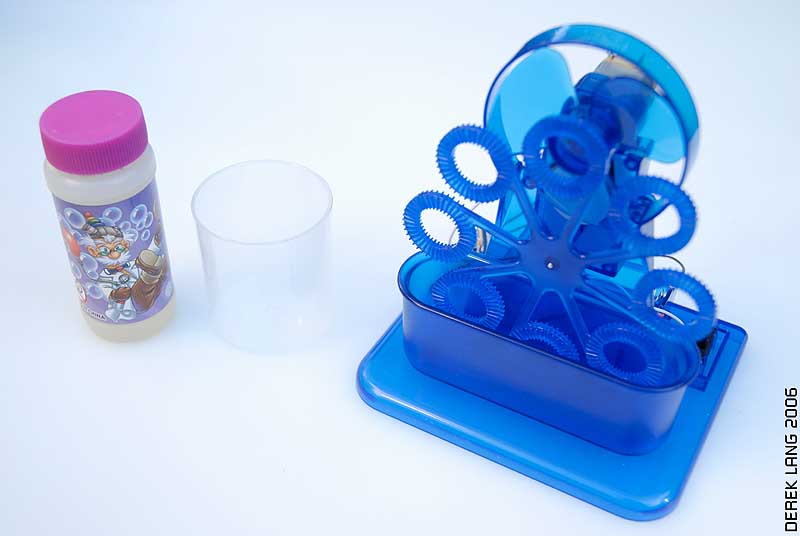
The Bubble Bot assembled
After the bubble bot assembly I hooked it up to the solar panel. Not enough juice. I thought to myself how many soler panel kits in series would be required to make the bubble bot work. In the end I took some rechargable AA batteries from my camera kit and got the bot working.
I added the bubble solution (1 part bubble mix, 1 part water, as per instructions) and watched the bot do it's thing.
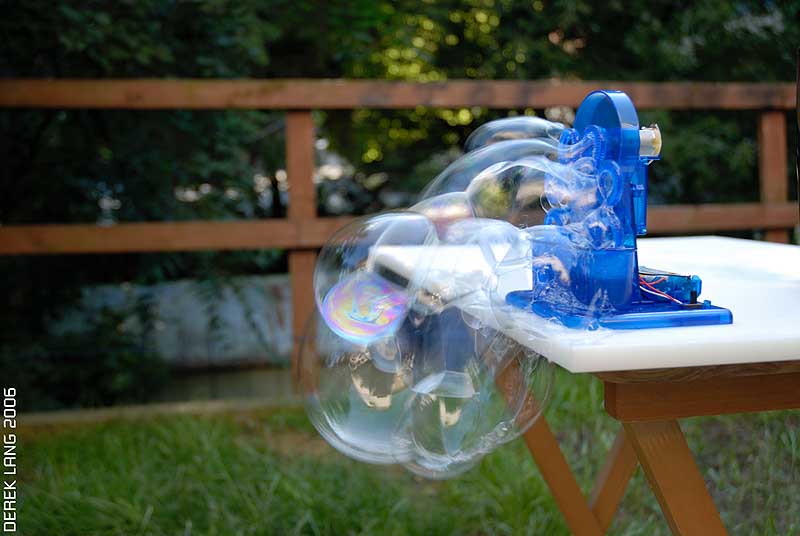
Bubble Bot in operation
I noticed two problems. The first being the bot didn't seem to have enough fan power to actually shoot the bubbles out. Instead the bubbles collected right under the unit making the table a soapy mess (see above).
The second problem I found with the device is that once the water level sank below the bubble ring (see below) the bubble ring could not make bubbles because there was no soap film across the diameter.
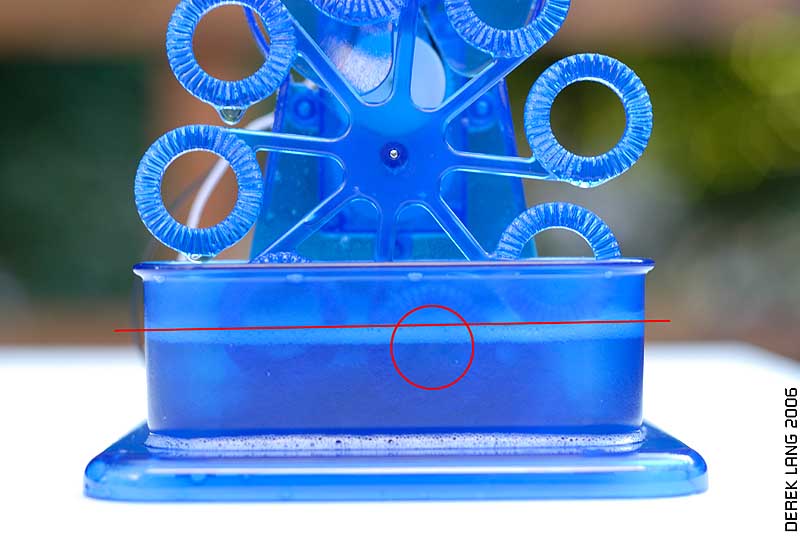
Water level too low for bubble ring
Overall it was a fun experiment that ate up about two hours of time. Plus, once I put the bubble bot in a slight wind, the bubbles came out fine which in turn freaked out the neighbor's cat.
5 comments:
A couple of things:
1)You're almost caught up on the blogging. Just post a few more days and you will be up-to-date.
2)About the bubble thing & the solar energy source - cute, interesting yet somehow geekie (I mean that in the nicest way.)
3)Tiny phillips screwdrivers are good to have!
Cool, I wanna bubble bot! That looks like fun!
I haven't seen one of those here and I am always buying silly toys (last purchase was the Guitar Hero Playstation II game, before that it was a build-your-own snowdome kit).
I might have to send someone over to pick one up for me.
Actually the local Shopper's Drug Mart carries a plug in plastic fish that blows bubbles. It has a AC plug near bouts it's ass. I think it's about $30 bucks but it holds more soapy water than the bubble bot.
If you ever take your solar power fascination and apply it to a real-world problem you might be onto something. Considering you didn't have enough power for the bubble bot makes me less then hopeful of a solar-powered car in the near future.
Did I ever show you my AA battery charger? I rewired it to use a 12 volt 800 mAmp solar panel I bought. As for the bubble bot and the solar science kit... the kit was only $12.
Post a Comment